
A virtual Machine or VM is a machine running inside a machine. Linux Virtual machines are crucial for software development-related tasks. During the deployment of your code, the knowledge of setting up a Virtual Machine has proven to be very helpful.
Linux virtual machine is a handy tool to test various software and the latest Linux distributions. You can use Virtual Machines as a testing ground for your software before deploying it to the production machine.
In this blog, You will learn How to Install and configure a Linux Virtual Machine using KVM, QEMU and Virt-Manager. If you are new to Linux, I will show you an easy method first, then we deep dive into the process.
Prerequisits
Before proceeding with any further, please note that to install a Virtual Machine in your host machine, your processor must support virtualization. Sometimes, Virtualization is turned off in the BIOS setting, please turn it on before proceeding.
Run the following command to see how many virtual processors are available in your system.
egrep -c '(vmx|svm)' /proc/cpuinfo
If the above command returns 0 then virtualization is not possible in your CPU or it is turned off in your BIOS.
Gnome Boxes: The easiest way to run a Virtual Machine in Linux
Gnome Boxes is developed by The Gnome Foundation. Gnome Boxes is a pre-configured GUI for QEMU, KVM, and Libvirt virtualization technologies. Gnome Boxes made it very easy to run a Virtual Machine from an .iso image without any configuration.
To install Gnome Boxes in your system, Run the following command.
sudo apt install gnome-boxes
If you want to try newer features, you can also install the flatpak version of Gnome Boxes.
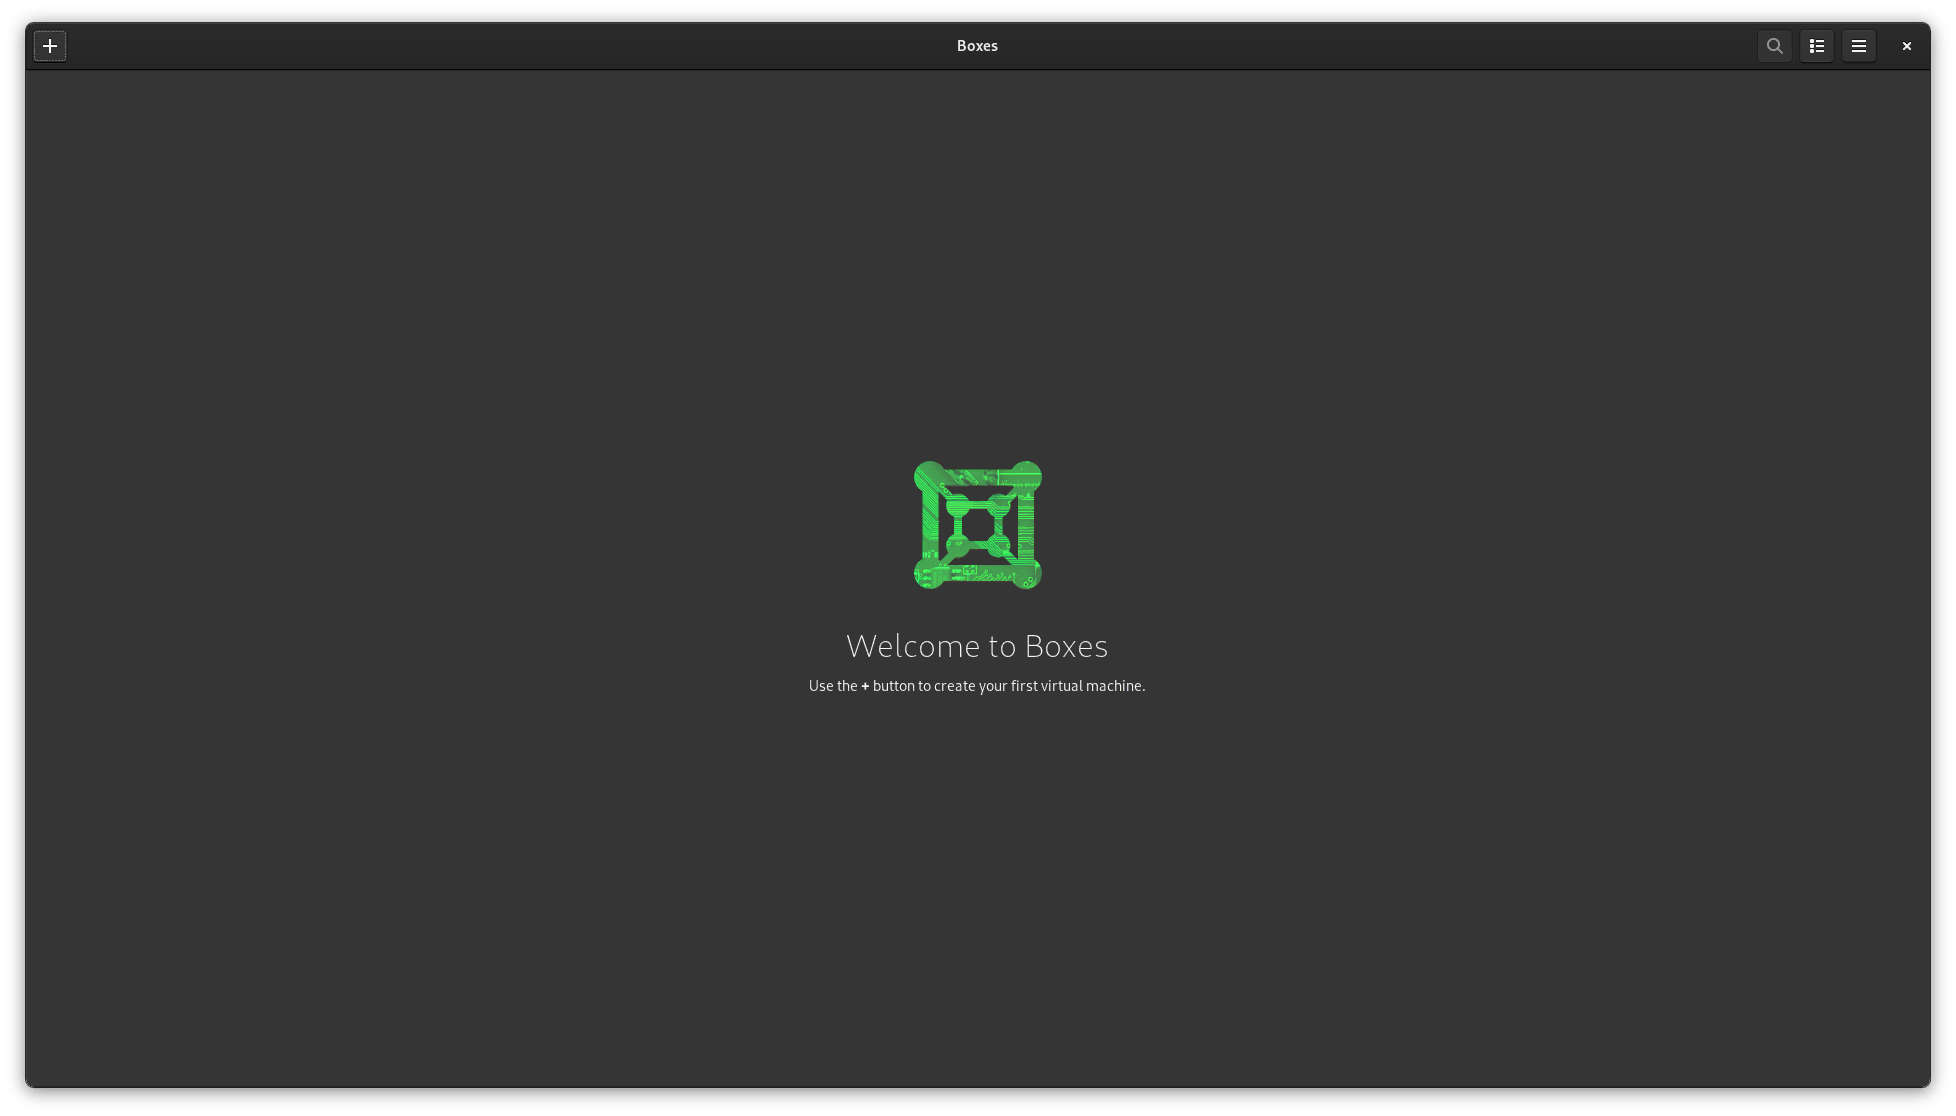
After installation, click on the + icon on the top-left side of the window and select a .iso image to create a Virtual Machine.
To pass through any media or device like a mouse or tablet to the virtual machine, click on the hamburger menu icon and click on preferences. There you get all the options to pass through any device to the Virtual Machine.
To delete a virtual machine, just right-click on the Virtual Machine to open the context menu and click the delete option.
Setting up Virt-Manager in the Host Machine
Before setting up Virt-manager, it is useful to know why you need Virt-Manager over Gnome Boxes. Gnome boxes are only useful to boot up an .iso image and tinkering with it. If you want some advanced control like GPU Passthrough or SSH functionality, Gnome Boxes falls short on this aspect.
Virt-Manager is a GUI for Libvirt. Virt-Manager makes it very simple to set up a Virtual Machine and added provision for advanced customisability. Therefore, I like Virt-Manager over Gnome Boxes.
To install Virt-Manager in the host machine, run the following command. This command installs all the necessary packages we need.
sudo apt update
sudo apt install qemu-system libvirt-clients libvirt-daemon-system bridge-utils virtinst libvirt-daemon virt-manager -y
After installation check if the libvirtd service is running.
sudo systemctl status libvirtd.service
Now Run the following command to start the default network to use in Kernal Virtual machines(KVM). These commands start the default network and autostart across system reboots.
sudo virsh net-start default
sudo virsh net-autostart default
List all the available networks using the following command and you will see the default network there.
sudo virsh net-list --all
To access your Virtual Machines from the current user in the host machine, run the following command and replace the username with your real username.
sudo adduser username libvirt
sudo adduser username libvirt-qemu
After all of the above steps, you can list your Virtual machines by running the following command. You will get an empty output because you don’t have any Virtual Machine set-up till now.
sudo virsh list --all
In addition to this, you can also run the following command to improve the performance of network data transfer in your Virtual Machines.
sudo modprobe vhost_net
lsmod | grep vhost
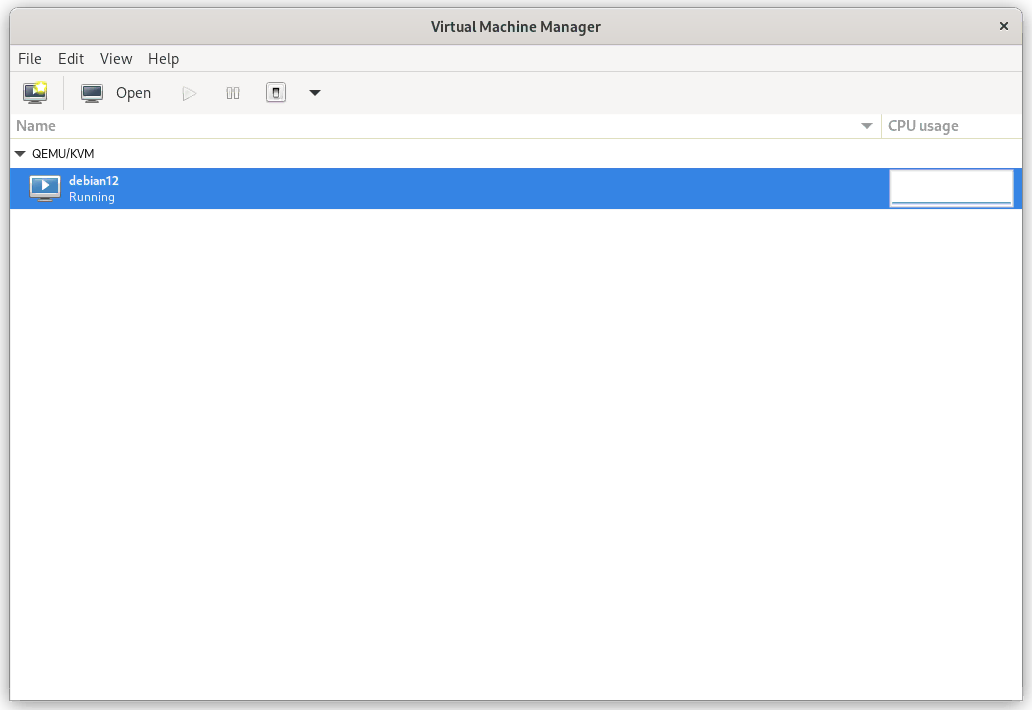
Booting your Virtual Machine using Virt-Manager
Click on the Create Virtual Machine icon and follow the popup to install the operating system in the Virtual Machine.
After you have successfully installed the OS in the Virtual Machine, This is the time to install an SSH server in the Virtual Machine.
SSH or Secure Shell is a program to connect your Virtual machine from an outside system. SSH features seamless connectivity and file transfer using scp with the Virtual Machine.
If you have installed a server image, then most of the server
.isoinstall an SSH server by default. In the setup process, please opt for the SSH server option to automatically install SSH utility in your Virtual Machine.
Installing an SSH server in the Virtual Machine
Installation of an SSH server is very simple in Linux. Run the following command to install the openssh-server package.
sudo apt install openssh-server
Now check if the sshd daemon is running in your Virtual Machine.
sudo systemctl status sshd
If the service is not running, run the following command to start the service.
sudo systemctl start sshd
To connect to this SSH server, install openssh-client package in your host system.
sudo apt install openssh-client
By default, the SSH server runs on port 22. If you want to change any configuration you can edit the /etc/ssh/sshd_config file. You can find more resources around configuring SSH servers in the Ubuntu documentation.
Connect to the Virtual Machine using SSH
After successfully installing and activating openssh-server in the virtual machine, run the following command to know the IP address of the virtual Machine.
hostname -I
The above command returns the private IP address of the virtual machine. If the Host machine and the guest machine(Virtual Machine) are connected to the same local network (connected with the same router) then this local IP address work for you.
Otherwise, to get the public IP address of the Virtual Machine, run the following command.
curl ifconfig.me
After obtaining the IP address of the Virtual machine, open your terminal in the host machine and run the following command to SSH into the virtual machine. Please replace the username with the real username in the virtual machine and ipaddress with the IP address you got from the previous step.
ssh username@ipaddress
If this command is successfull, put the password for that username for authentication. Now you got full access to the Virtual Machine remotely from the host machine using SSH.
To exit an SSH session. type exit in your terminal.
exit
Connect VSCode with the Virtual Machine using SSH
If you want to write code and run your programs inside the Virtual machine, you can easily achieve this with VSCode. VSCode gives you a nice developer experience inside your Virtual Machine.
Click on the extension tab in your Vscode and search for ssh. Install the Remote-SSH plugin and you are good to go.
Now click on the bottom-left corner arrow buttons and click on the connect to host option. There put your host username@ipaddress and password to open a ssh tunnel to your Virtual Machine.
Conclusion
In this blog, you have learned how to install a Virtual Machine using Gnome Boxes and Virt-Manager. Then you set up an SSH server and connect from the host machine. At last, you accessed the Virtual Machine using VSCode remote SSH plugin.
Virt-Manager is useful over Gnome Boxes if you want to make some advanced configurations. If your requirement is only booting up some ISO and tinkering with it, then Gnome Boxes may be the best choice for you.